Philippines Digital Nomad Setup: Banking, SIMs & Apps
The flight and the visa stamp are the easy part. What trips people up is everything after: your bank flags a charge in Cebu and freezes your card, your U.S. carrier can't deliver a two-factor code, or you're at a 7-Eleven with no way to pay because your local wallet isn't set up yet.
None of that is hard to fix — it just has to happen before you need it, not while you're stuck in line. The approach that works: keep a dependable financial base at home, add the Philippine services that actually matter, and build a backup for anything that's a single point of failure.
The banking specifics below are U.S.-focused, since that's where most of our readers bank. If you're elsewhere, the shape of the plan is identical — a fee-free global debit card, a cheap transfer service, a backup card stored separately — swap in your own country's version of Schwab or Wise.
The Philippines Digital Nomad Setup at a Glance
| Item | What it solves | Essential or optional | When to arrange it |
|---|---|---|---|
| Home-country bank account | Income, bill pay, savings you don't touch day-to-day | Essential | Before you leave |
| Primary ATM/debit card + a separately stored backup | Cash access, and a fallback if the primary is lost or eaten | Essential | Before you leave |
| No-foreign-transaction-fee credit card | Everyday purchases without a currency markup | Essential | Before you leave |
| Wise account (transfer + optional card) | Moving money between currencies at a fair rate | Essential | Before you leave |
| Working U.S. phone number | Bank codes, account recovery, existing contacts | Essential | Before you leave |
| Unlocked dual-SIM phone | Running a home number and a local number together | Essential | Before you leave |
| Philippine SIM or eSIM (Smart or Globe) | Local calls, texts, and mobile data | Essential | On arrival, or a data eSIM before |
| GCash, if you're eligible | Local mobile payments, splitting bills, small vendors | Optional | First week, once eligibility is confirmed |
| Philippine bank account | Simpler recurring payments for a longer stay | Optional | Once you know you're staying |
| Grab and Lazada | Transport, food delivery, everyday shopping | Optional | First week |
| Primary internet, backup data, charged power bank | Keeping you online for work no matter what fails | Essential | Before you sign a lease |
Notice what's marked essential: it's the capability, not a specific product. You don't need every account listed above — you need dependable cash access, a way to pay locally, a working phone number, and a backup for each.
1. Set Up Your Banking and Cards Before Leaving
Keep a U.S. Bank Account for Income, Bills, and Reserves
Your regular checking account keeps doing what it already does: receiving deposits, paying autopay bills, holding an emergency fund you're not spending down. Don't close it or route income elsewhere just because you're leaving the country.
Before you go, call and ask how your bank treats an account holder overseas for months versus on vacation — specifically whether your mailing address needs to stay domestic, and whether a replacement card can be mailed internationally. A U.S. mailing address (a family member's house, a forwarding service) keeps statements flowing; it doesn't automatically make you eligible for products that require U.S. residency, so don't assume it settles every question.
Choose an ATM Card That Reimburses Withdrawal Fees
This is the highest-impact account swap for anyone spending real time abroad. Philippine ATMs add a foreign-card surcharge on top of your home bank's fee, and it adds up over months of withdrawals. Two accounts consistently solve this:
| Account | ATM-fee policy | Foreign transaction fees | Account fees | Overseas-residency restrictions |
|---|---|---|---|---|
| Schwab Bank Investor Checking | Unlimited worldwide ATM surcharge rebate, credited monthly | None on debit purchases | None — no monthly fee or minimum | Requires a linked Schwab brokerage account; opened as a U.S. resident, usable while traveling |
| Fidelity Cash Management Account | Unlimited worldwide ATM reimbursement, credited same day | Fidelity discloses an unwaived ~1% fee on foreign transactions despite "no foreign transaction fee" marketing | None — no monthly fee or minimum | Debit card tied to a linked brokerage account; opened as a U.S. resident, usable while traveling |
Schwab charges 0% on foreign transactions; Fidelity's own fine print admits an unwaived ~1%. Both reimburse the ATM operator surcharge, the bigger cost on most withdrawals. Confirm current terms directly with each provider before opening anything, since account details change.
One habit matters more than which card you carry: when a Philippine ATM asks whether to withdraw in PHP or convert to USD on the spot, choose PHP. The ATM's own conversion rate is worse than what your card network applies automatically.
Always Have a Backup ATM/Debit Card — and Store It Separately
This is the step people skip, and the one that saves a trip when things go wrong: an ATM eats your card, your wallet gets lifted, or your bank's fraud system blocks your account mid-trip and support can't reach you for two days.
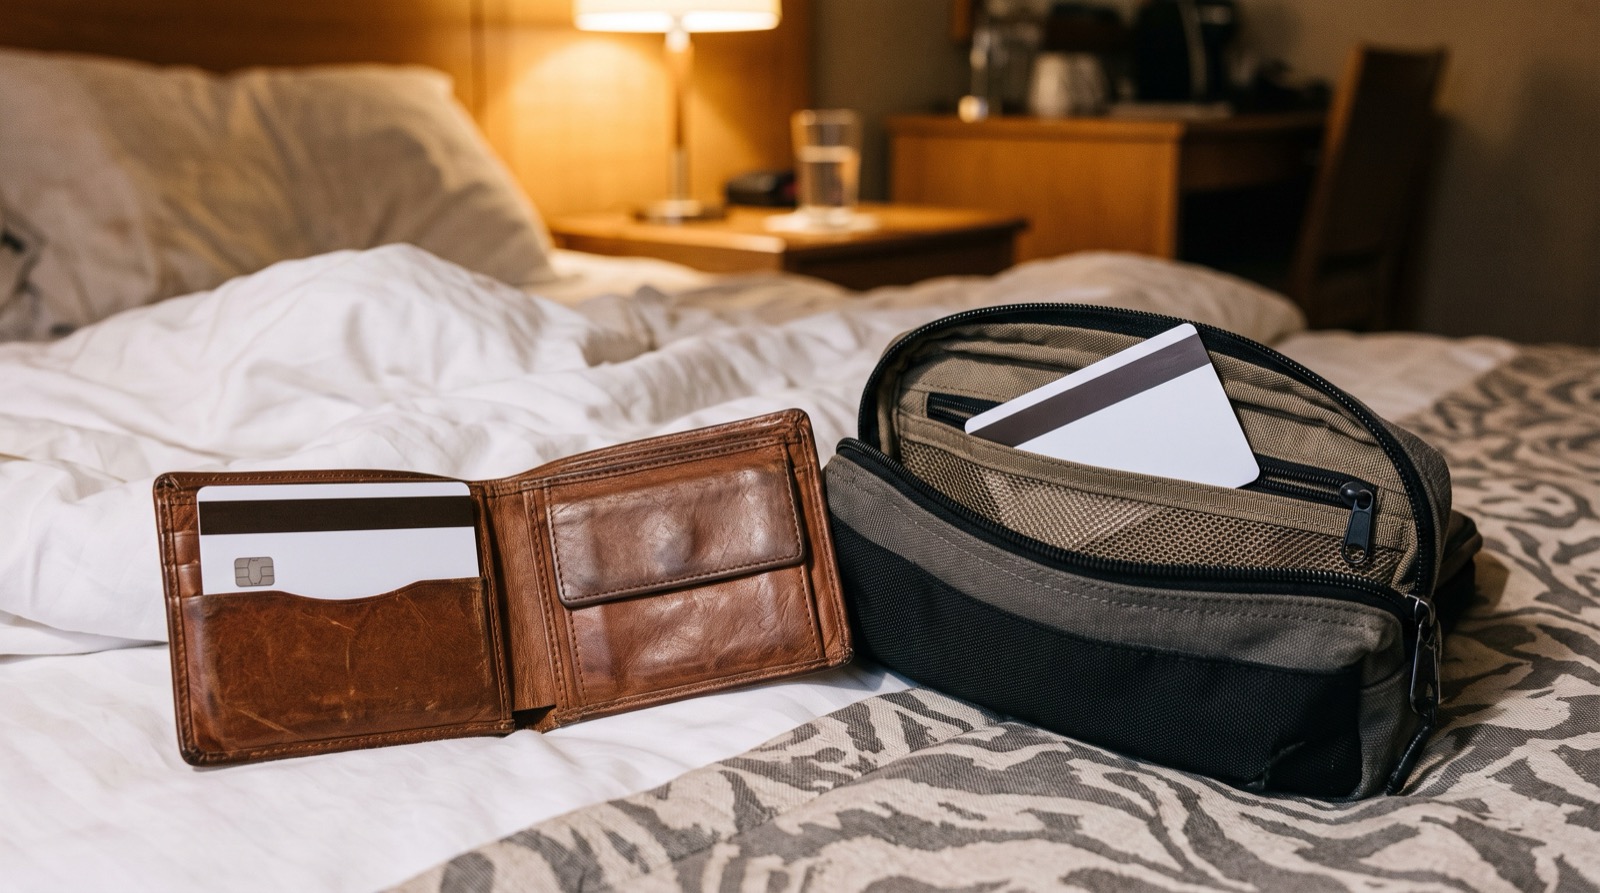
For the backup to actually function: use a different institution where practical, a PIN you've actually tested at a real ATM, enough money in the linked account to cover a week or two of essentials, and store it separately — a hotel safe, a different bag entirely. If both cards live in the same wallet, or the backup account sits empty, you haven't built a backup at all.
Bring a Credit Card With No Foreign Transaction Fee
Your ATM card is for cash; your credit card is for everything else — restaurants, Grab, Lazada, hotel bookings. No foreign transaction fee means a peso purchase doesn't quietly add 3% to the exchange rate every time. Put it on autopay, turn on transaction alerts, keep a second card as backup, and — same rule as the ATM — decline any "charge in USD instead" prompt at checkout and pay in pesos.
Use Wise to Move Money Between Countries
Two different things share the Wise name. Wise transfers move money from your home account into pesos — to a Philippine bank account or an eligible mobile wallet — at the mid-market rate with a transparent fee. The Wise card is a separate debit card for spending or withdrawing in whichever currency you're holding.
If you already have a fee-free U.S. ATM card, transfers do most of the work: send yourself pesos when you need more than a withdrawal comfortably covers, compare the pesos you'd actually receive against your bank's quote, and test a small amount first. Wise can also send pesos directly to a fully verified GCash account or several other Philippine wallets — useful without a local bank account at all.
The card is optional on top of that, most useful as a dedicated peso-holding card or a backup unrelated to your brokerage accounts. Check Wise's current fees and limits before deciding how much of a role it plays — see our banking guide for the fuller local-account comparison.
2. Keep Your U.S. Number and Get a Philippine SIM
Keep Your U.S. Phone Number for Verification and Account Access
Your bank, brokerage, and email provider still treat your U.S. number as you. Losing access mid-trip turns a simple login into a multi-day support call. Decide before you leave whether to keep your plan active (some carriers offer a cheap international pause) or port the number to a service built for staying reachable without a physical SIM in the phone.
Test Wi-Fi calling and texting on that number from outside the U.S. before you fly, and trigger a couple of real verification texts from accounts you'd hate to get locked out of. Don't make that one number your only lifeline — add an authenticator app and printed recovery codes wherever possible. A phone number is a single point of failure, same as a bank card.
Use an Unlocked Dual-SIM Phone
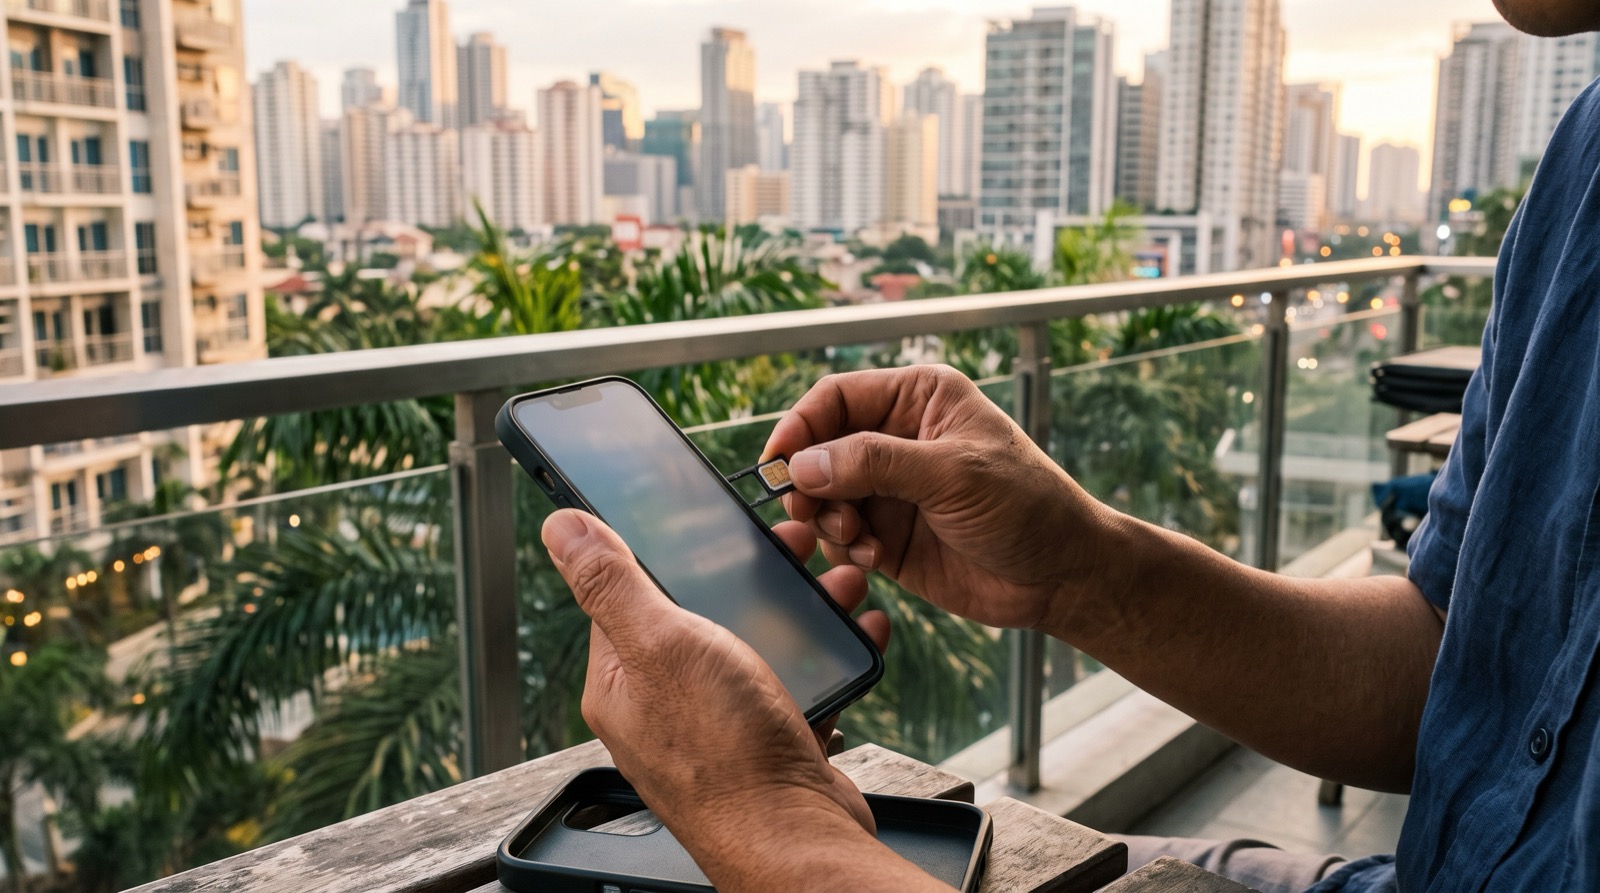
The target setup: your U.S. line stays active for calls, texts, and verification; a Philippine line handles everyday data and local calls. Most recent phones support this with two physical SIM slots or one physical SIM plus an eSIM. Confirm your phone is actually carrier-unlocked before you leave — a phone still tied to a U.S. carrier won't accept a second network's SIM — check eSIM compatibility if you're running one of each, set your default data line to the Philippine SIM once active, and turn off roaming on the U.S. line so it doesn't bill at international rates.
Choose a Philippine SIM or eSIM Based on Actual Coverage
Smart and Globe are the two networks worth checking. Neither is universally better — coverage varies by neighborhood and building, so check both before committing to one as primary. Compare signal at wherever you're actually staying, data allowance and hotspot support, whether voice/SMS is bundled, price, and how renewal works. A local mobile plan gets you a Philippine number plus data; a data-only travel eSIM gets you online immediately but usually skips the local number. Many nomads use a data eSIM for the first day or two, then register a proper Smart or Globe SIM once settled. Our internet guide covers current plan pricing and coverage in more detail.
Register Your SIM and Check Its Validity
Under the SIM Registration Act (RA 11934), every SIM sold in the Philippines has to be registered before activation, with documents that depend on your visa status: tourists provide a passport, proof of a Philippine address, and a return or onward ticket; longer-stay visa holders use their visa or Alien Certificate of Registration instead.
Here's the detail that catches people off guard: a tourist-registered SIM is legally valid for only 30 days and deactivates automatically when that period ends — regardless of remaining data or load. That's a separate clock from your data promo expiring. If you legally extend your stay, submit that extension to your carrier before the registration lapses; the exact process varies by carrier, so check Globe's or Smart's official page directly rather than secondhand instructions.
3. Arrange Local Payments: Cash, GCash, and Banking
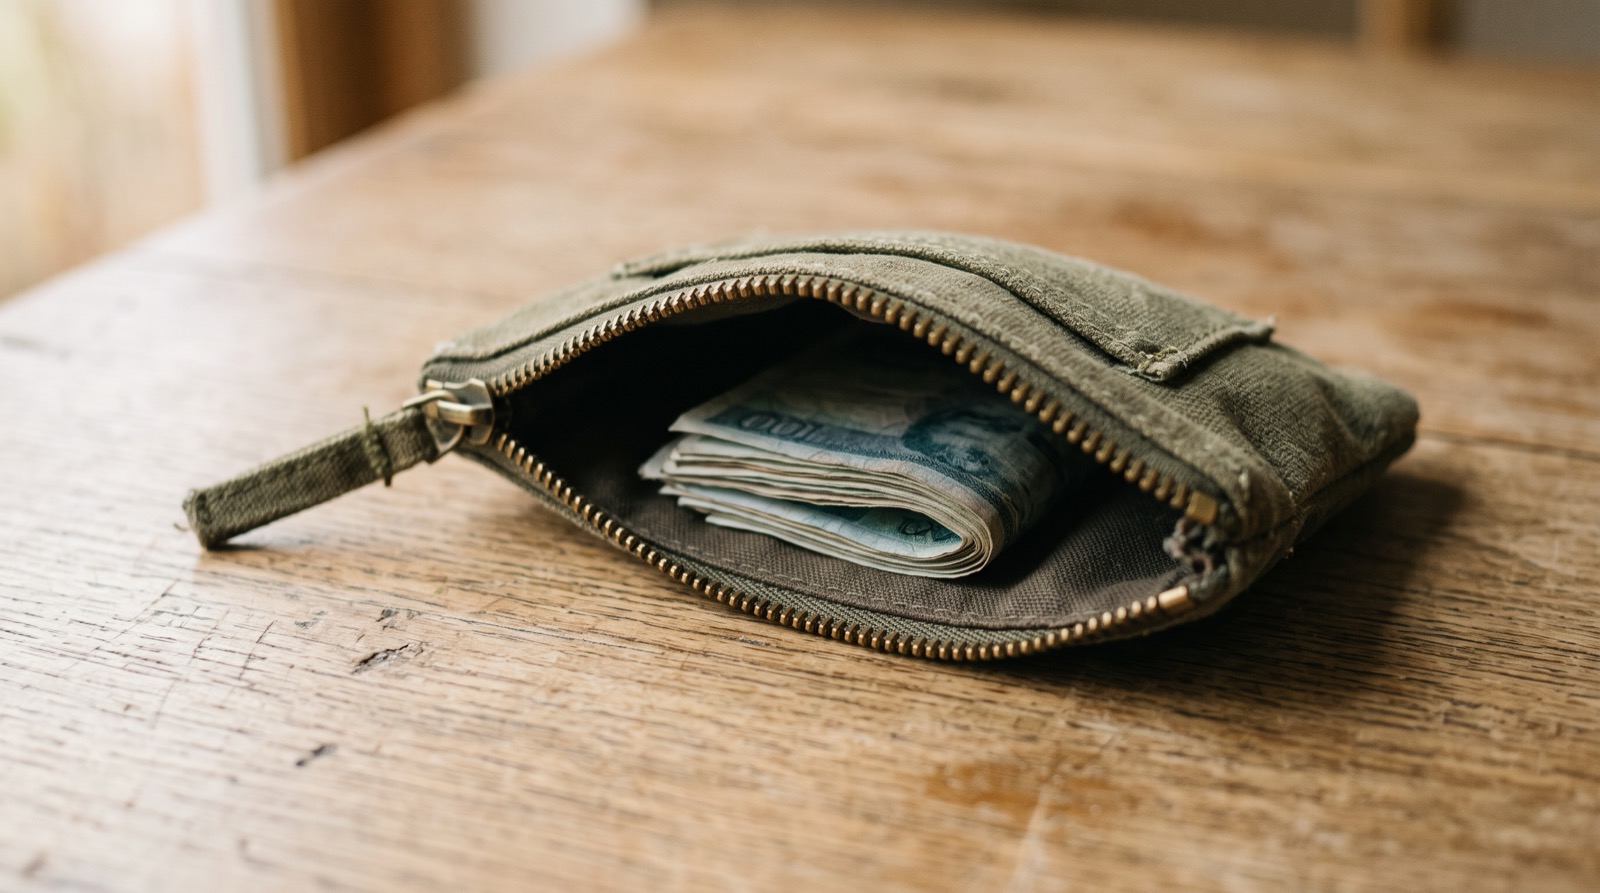
Keep a Practical Cash Reserve
Cards and mobile wallets don't work everywhere — the tricycle driver, the small carinderia, the sari-sari store run on cash. Withdraw enough on arrival to cover the first few days, then settle into a rhythm of everyday cash plus a separate, untouched emergency reserve. How much is "enough" depends on where you're staying and how you spend — plan around your actual destination rather than a number from a forum post.
Set Up the GCash Product You're Eligible For
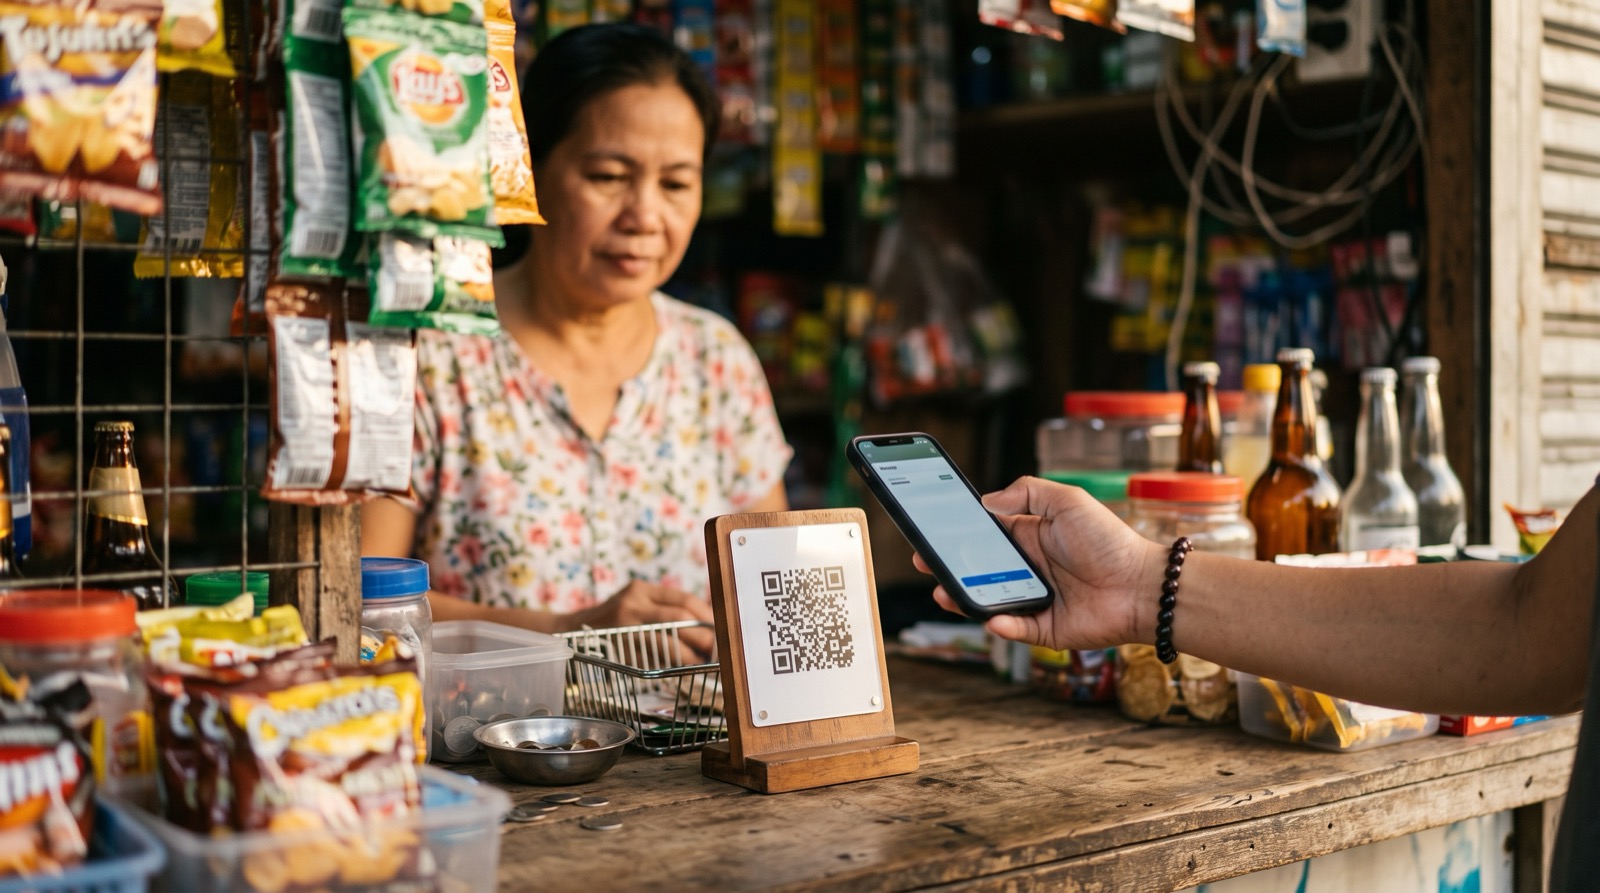
GCash is the default way locals split a bill, pay a sari-sari store, or send money to a friend. The eligibility rules for foreigners are more layered than most posts suggest:
- Foreign visitors can apply for GTourist, a temporary account verified with a foreign passport and a selfie, currently limited to eligible countries (a U.S. +1 number currently qualifies). You can register before landing, but it only activates once you're in the country, and it deactivates after 30 days.
- Foreign residents on a Philippine SIM generally need an official Philippine-issued ID to fully verify — an ACR I-Card, a Philippine driver's license, or an SRRV card. A tourist passport alone typically doesn't unlock this tier.
- Filipinos using an overseas number (GCash Overseas) verify through standard Philippine IDs instead.
Don't assume every foreigner can open the same fully verified account with just a passport — the product and documentation depend on which category applies to you. Full walkthrough: GCash for foreigners. Check the funding options, wallet limits, and expiry rules for your specific product, and treat the wallet as a spending tool, not your default place for savings: use your own identity, keep your MPIN private, and don't route your emergency fund through it.
Decide Whether You Need a Philippine Bank Account
This is a decision, not a mandatory arrival-week task. A local account can simplify rent, recurring bills, or receiving a Wise transfer without wallet limits — useful once you know you're staying a while. For a few weeks or a couple of months, existing cards plus Wise transfers may cover everything.
If you do open one, expect requirements to hinge on visa status — a long-term visa makes it straightforward, while tourist-visa holders sometimes get turned away depending on the branch. Bring your passport, proof of address, and enough cash for the initial deposit, and expect an in-person application to be more reliable than an online one. Our banking guide walks through the account-opening steps and current costs in full.
4. Install the Apps That Make Everyday Life Easier
Grab for Transport and Food
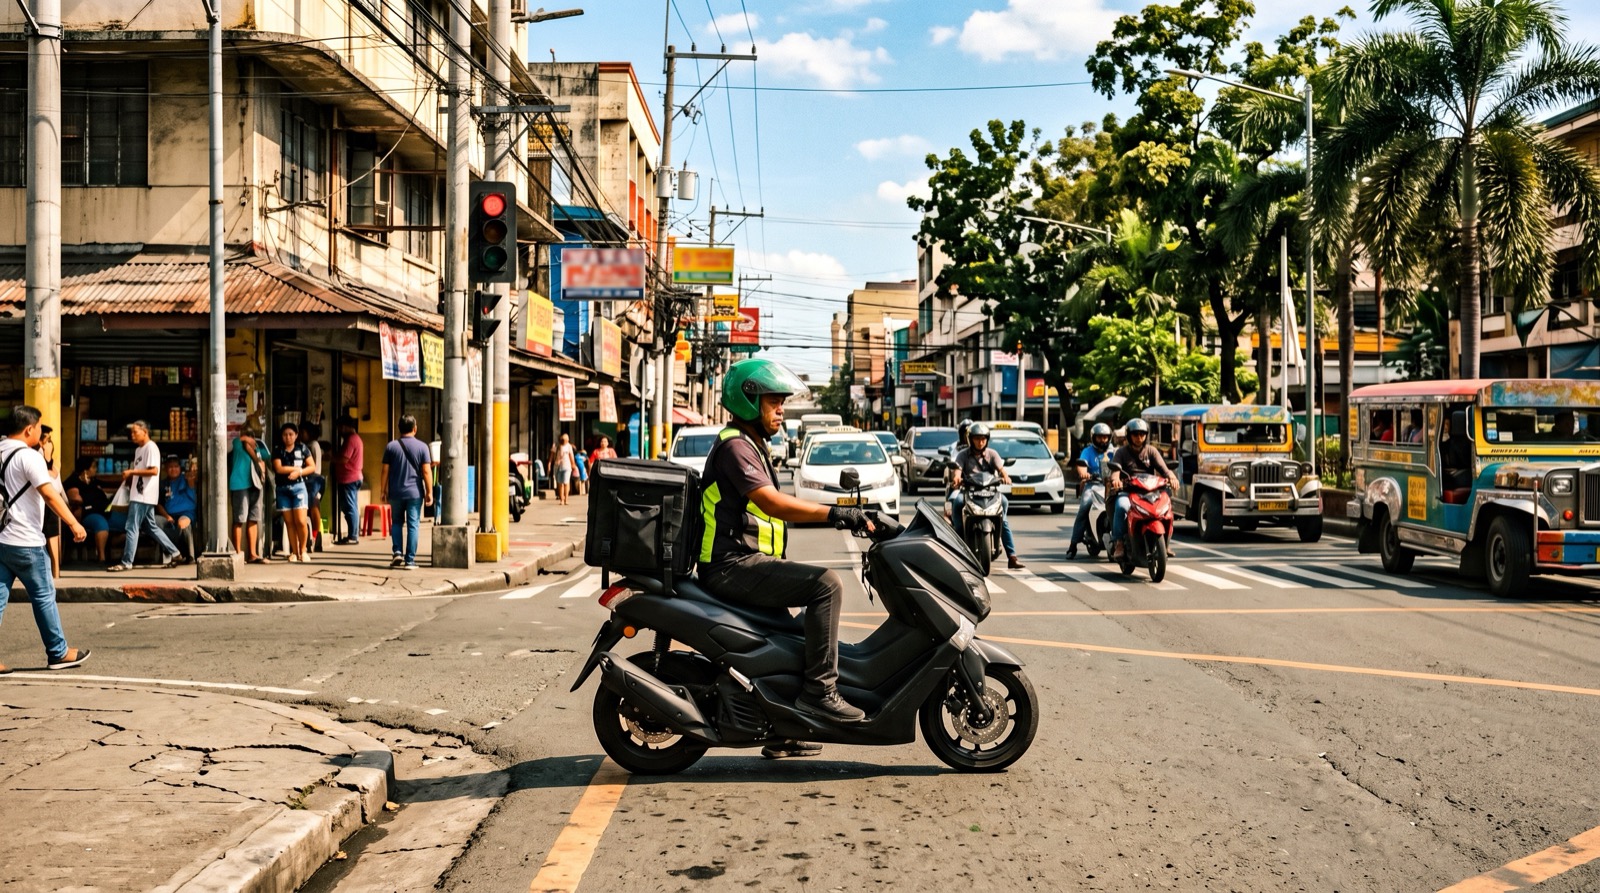
Set up your Grab account and link a card before you fly — you don't need a Philippine number to register, and linking on your home network avoids the fraud checks that trigger when a bank sees a new card registered from an unfamiliar country. Keep a backup payment method on file in case the primary gets declined mid-ride.
One thing worth actually reading: Grab's terms disclose a foreign payment method fee on charges to a non-Philippine card, on top of any currency conversion. It's shown before you confirm the ride — the quoted fare and the final charge aren't always identical once a foreign card is involved.
Lazada for Household Supplies and Everyday Purchases
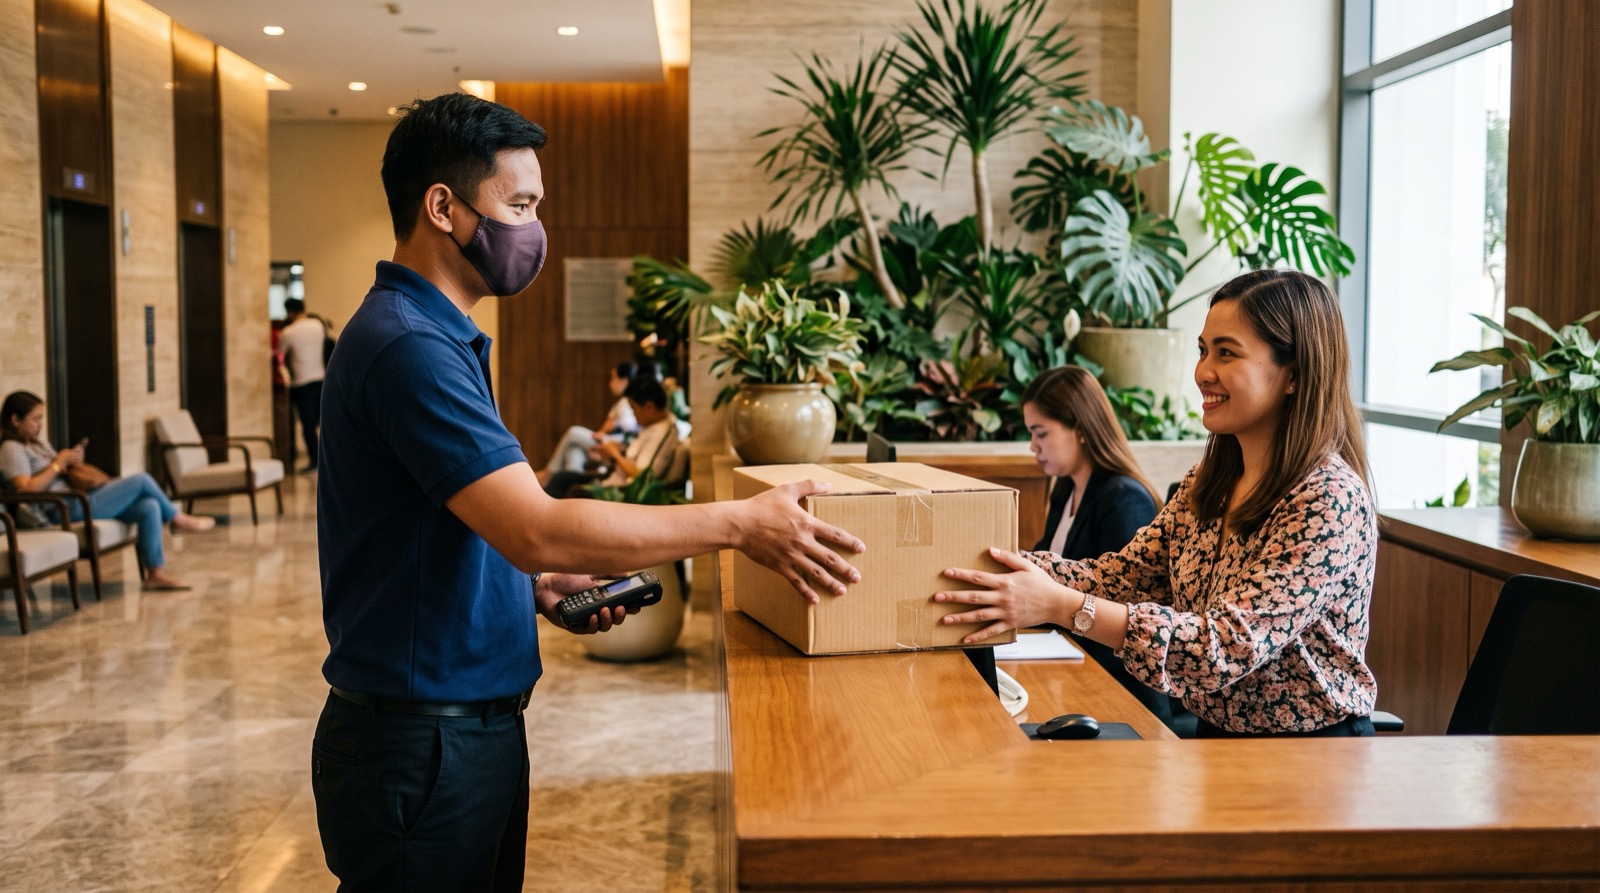
Once you have a temporary home base, Lazada covers the practical stuff — an extra pillow, a laptop stand, phone accessories. A few things separate a smooth order from a stuck one: use a Philippine mobile number on the account, since local couriers call or text for final delivery and won't reach a foreign number; expect foreign credit cards to be hit-or-miss at checkout over billing-address mismatches, with a linked GCash/Maya wallet or cash-on-delivery as the more reliable fallback; favor official LazMall stores or well-rated sellers, especially for electronics; and give the full address — building, floor, unit, and a landmark — since incomplete addresses are the top cause of failed deliveries.
Add Other Apps Only When You Need Them
A navigation app, a messaging app your local contacts use, your airline's app, whatever banking app matches the accounts above. Every app on your home screen should solve a problem you actually have — a long generic "essential nomad apps" list is mostly noise.
5. Build an Internet and Power Backup for Remote Work
Check the connection before committing to accommodation. Ask the host to run a speed test from inside the actual unit — not the lobby, not the listing's claim. Check upload speed if you're on video calls, ask whether the connection is shared, and ask about reliability during your actual working hours. Walk the space itself: a real desk and chair, decent cooling, low enough noise for calls.
Maintain a separate mobile-data backup. No single connection should be able to take you fully offline. Keep mobile data on a different network than your fixed connection where practical — if your building runs on one provider's fiber, a SIM from the other major carrier is a genuinely independent backup. Confirm hotspot support, keep enough data loaded to get through a real call, and test it before an outage forces you to.
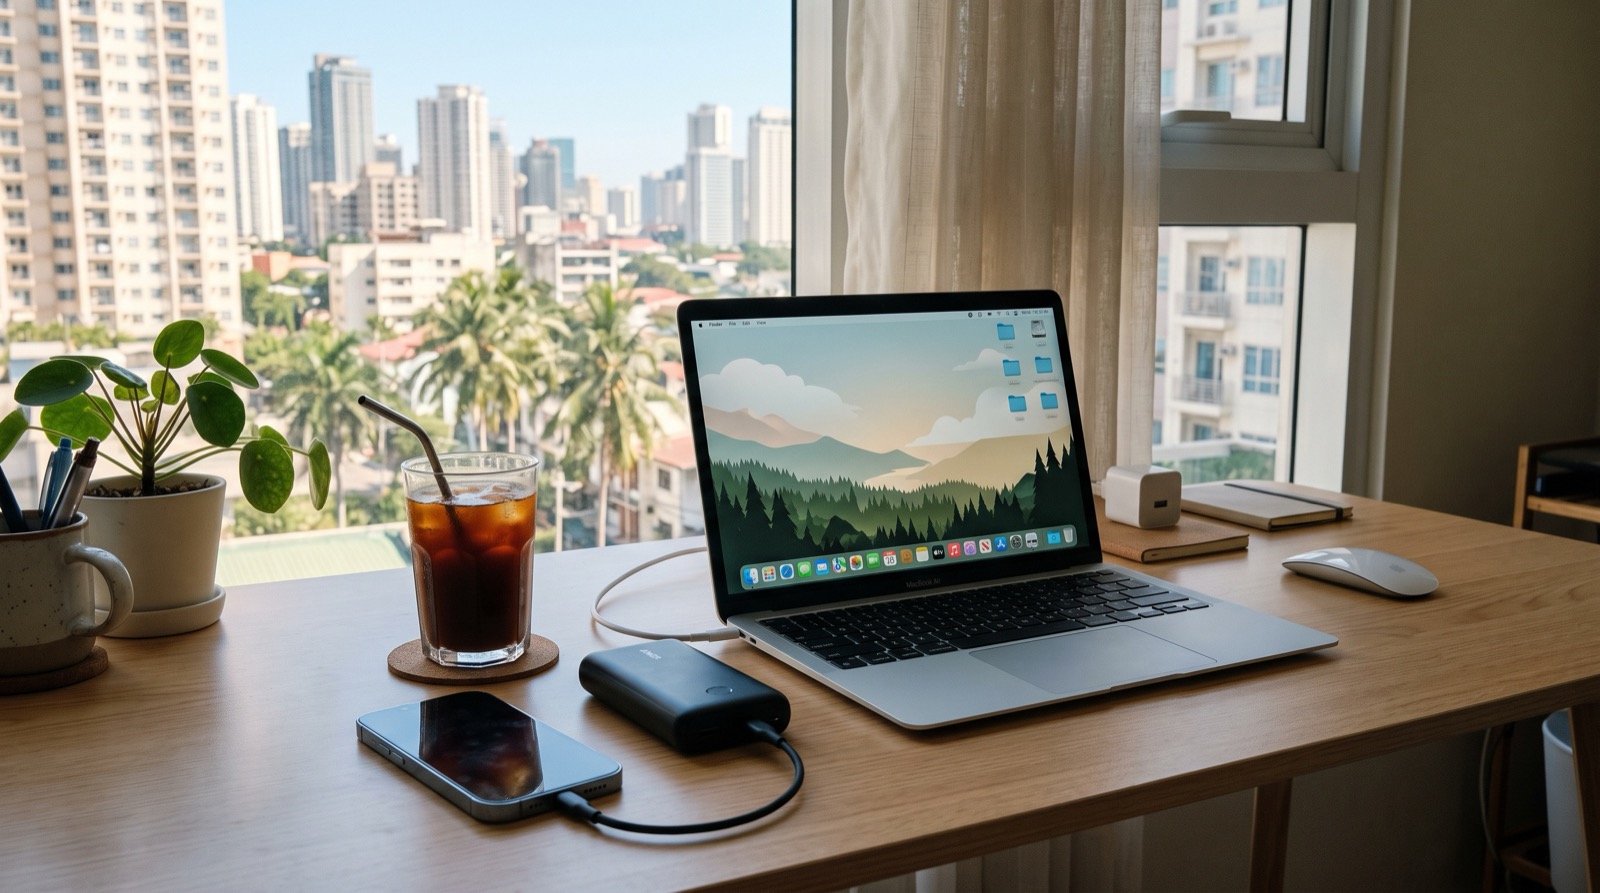
Plan for power problems and a backup workspace. Keep devices charged as a habit, carry a power bank sized for more than a phone top-up, and think through what you'd do without any equipment you depend on for a full day. Know your fallback location — a coworking space or café with reliable power, checked against hours that actually overlap with when you work.
6. Protect Your Money, Devices, and Account Access
Plan for a lost phone or wallet. Could you still pay for dinner, contact someone you trust, and get back into your accounts if your phone vanished right now? That means knowing how to freeze your cards without your phone in hand, having a secondary device that can receive backup codes, and storing document copies somewhere secure but reachable — the same backup-card discipline from earlier in this guide, applied to your whole setup.
Secure your accounts before departure. Set up a password manager, turn on multifactor authentication everywhere it's offered, and store recovery codes somewhere that isn't only on the phone that might get lost. Lock down your devices with a strong passcode and remote wipe, and confirm each critical account has a recovery method that doesn't depend entirely on your primary phone number.
Keep essential documents accessible. Organize copies of what you'd actually need in a pinch: identification and passport, entry/visa paperwork, insurance details, accommodation confirmation, and emergency contacts. Accessible doesn't mean insecure — an encrypted note or password-protected cloud folder beats a plaintext photo album.
7. Check Insurance, Immigration, and Work Arrangements
This deserves its own research, not a rushed paragraph — but three things belong on your checklist.
Insurance: Check what your policy covers before relying on it — medical treatment, evacuation, any trip-duration cap, and how it treats "traveling" versus "residing." Our healthcare guide breaks down local care and how insurance types compare.
Entry and work status: Know your entry terms, extension deadlines, and whether your work needs anything beyond standard tourist entry. The Digital Nomad Visa was signed into law in 2025 but still isn't open for applications as of this writing — most remote workers are on tourist entry and extensions in the meantime. Check current status before planning around a visa category that isn't live yet.
U.S. tax and reporting: Living overseas doesn't pause U.S. tax obligations. If your foreign accounts — a Philippine bank account, GCash, anything else — exceed $10,000 at any point in the year, you owe an FBAR filing. The Foreign Earned Income Exclusion can shield a chunk of foreign-earned income, but it doesn't apply to investment income or make FBAR optional. Talk to a CPA who handles expat returns — the penalties for skipping FBAR are steep enough that guessing isn't worth it. We go deeper on ongoing IRS obligations in our piece on dual citizenship and U.S. tax rules.
8. Your Setup Checklist
Before you leave: Confirm eligibility and open your fee-free ATM account. Test primary and backup debit cards at a real ATM. Set up Wise and send a small test transfer. Arrange U.S. phone access that survives a missing SIM. Confirm your phone is unlocked and dual-SIM/eSIM capable. Set up a password manager, MFA, and recovery methods independent of your primary phone. Arrange insurance that matches your actual stay.
During your first few days: Register a Philippine SIM (or activate a data eSIM) and confirm real coverage where you're staying. Test local data with an actual call. Make an initial cash withdrawal, choosing PHP over the ATM's conversion. Set up Grab and confirm payment works. Apply for the GCash product you're eligible for.
Once you know you're staying longer: Decide whether a Philippine bank account is worth opening. Settle into a regular Wise transfer routine. Test backup internet under real working conditions. Add SIM registration expiry, insurance renewal, and visa deadlines to a calendar — all three run on different clocks.
Frequently Asked Questions
Can I keep my U.S. bank account while living in the Philippines? Generally yes, but confirm with your bank how it treats overseas travel versus extended time abroad, including address requirements and replacement-card delivery.
Can I receive U.S. bank verification texts in the Philippines? Often, with Wi-Fi calling and texting enabled — but test it before you leave, and set up a backup recovery method in case the text doesn't arrive.
Do I need both Wise and a Philippine bank account? Not necessarily. Wise can fund a Philippine bank account or an eligible mobile wallet without you opening a local account. A local account becomes more useful once you have recurring local payments to manage.
Can foreigners use GCash without a Philippine bank account? Yes. GCash wallets fund through cash-in points, linked cards, or incoming transfers like Wise — a linked Philippine bank account isn't required.
What should I do if an ATM in the Philippines keeps my card? Contact the bank that owns the ATM directly, and separately call your card issuer to report it and start a replacement. This is exactly what your backup card is for.
Is a Philippine bank account necessary for a short stay? No. For a few weeks or a couple of months, a fee-free home-country debit card plus Wise transfers typically covers everything.
Build a Reliable Setup, Not a Complicated One
The core of it is simple: dependable banking at home, a primary and backup way to pay, phone numbers that keep working, local connectivity, and a plan for when any single piece fails.
The best nomad setup isn't the one with the most accounts and apps. It's the one that keeps working when a card, a phone, or an internet connection doesn't.
Enjoyed this article?
Get the latest expat guides and Philippines insights delivered to your inbox.